
Have you ever had a client send you a Power Point document with logos or images that need to be included in an edit? If so then you know how daunting the extraction process can be … until now. Read on for the single step solution …
I posted this Tip on the Facebook page a while back. Its good enough to share again.
The simplest way to extract images contained in a Power Point presentation is to change the extension of the presentation from PPTX to ZIP!!
That’s it!
Watch …
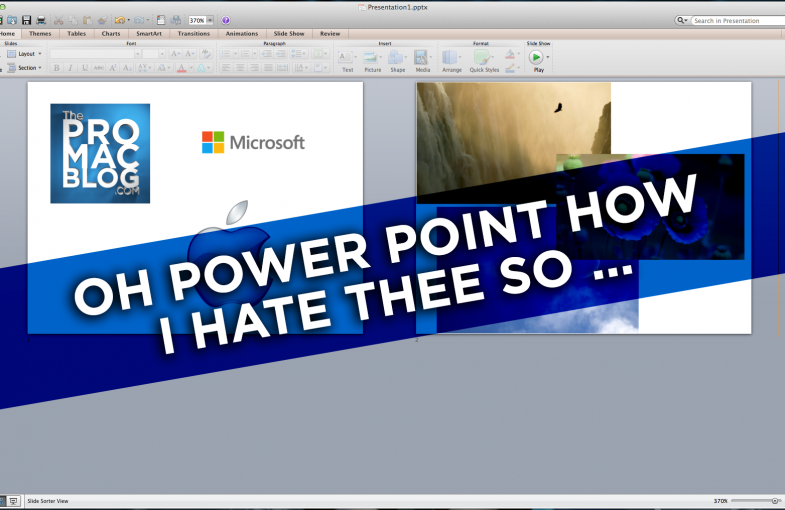
Here is a two page Power Point document that I created with a few logos and some high resolution images I pulled from the Desktop Image folder in the OSX library.
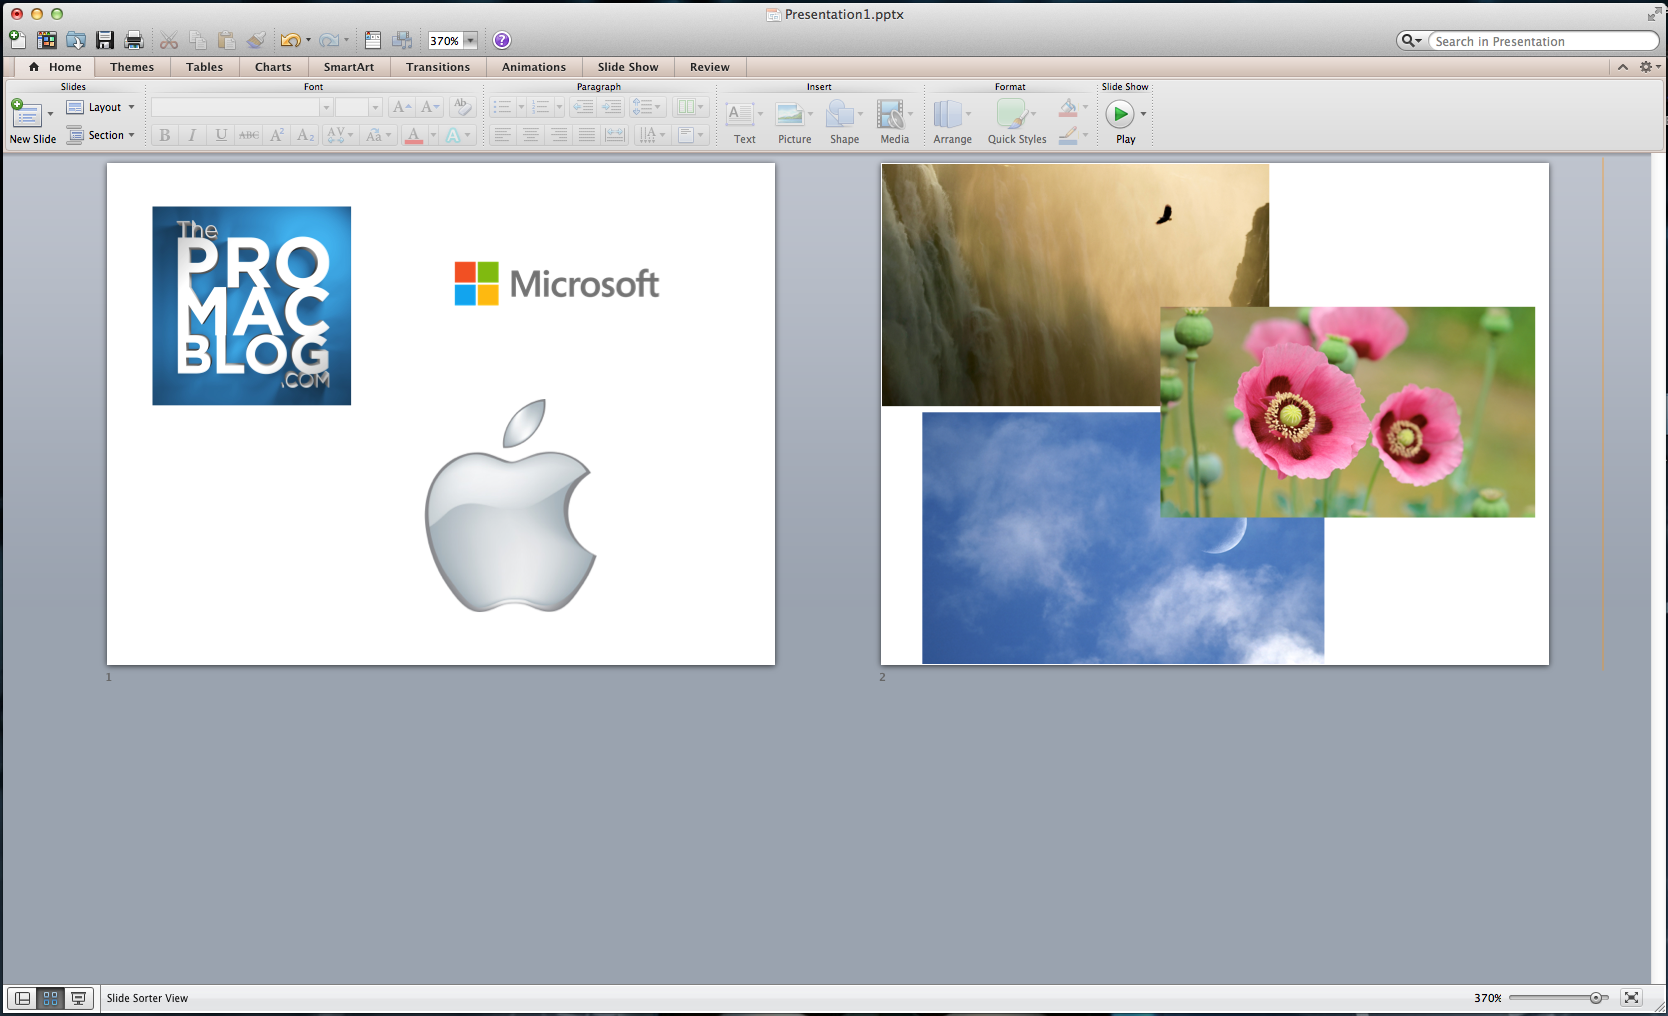
Two pages of images in Power Point
Before I learned this tip I would copy and paste each one of these images from Power Point into Photoshop and then save each one to its own file.
Now I just navigate to the Finder window that contains my PPTX presentation and create a duplicate by pressing CMD+D.
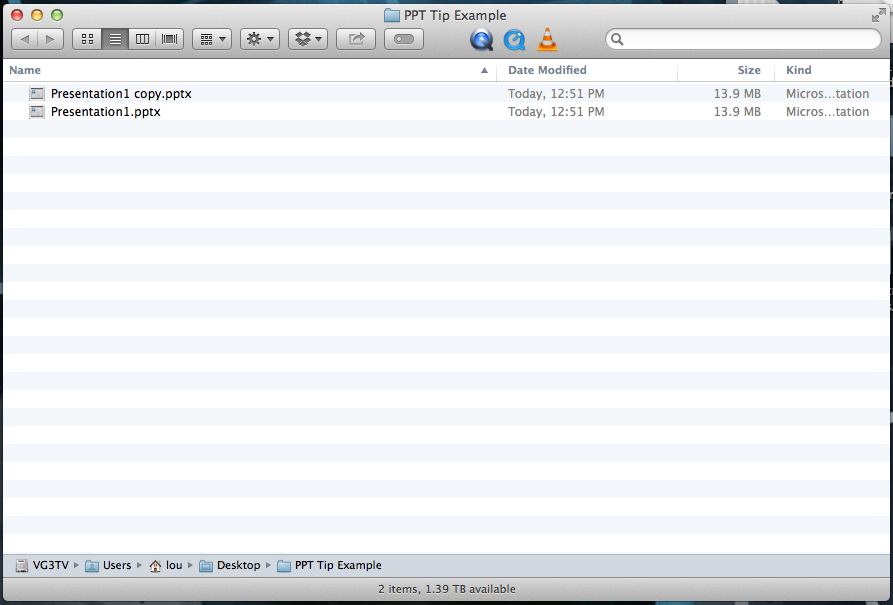
Duplicate in the Finder
Then change the name of the duplicate file from PPTX to ZIP.
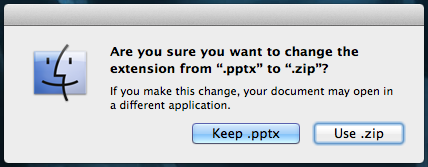
Change extension from PPTX to ZIP
Double-click on the ZIP file to explode the archive and navigate to the “Media” folder.
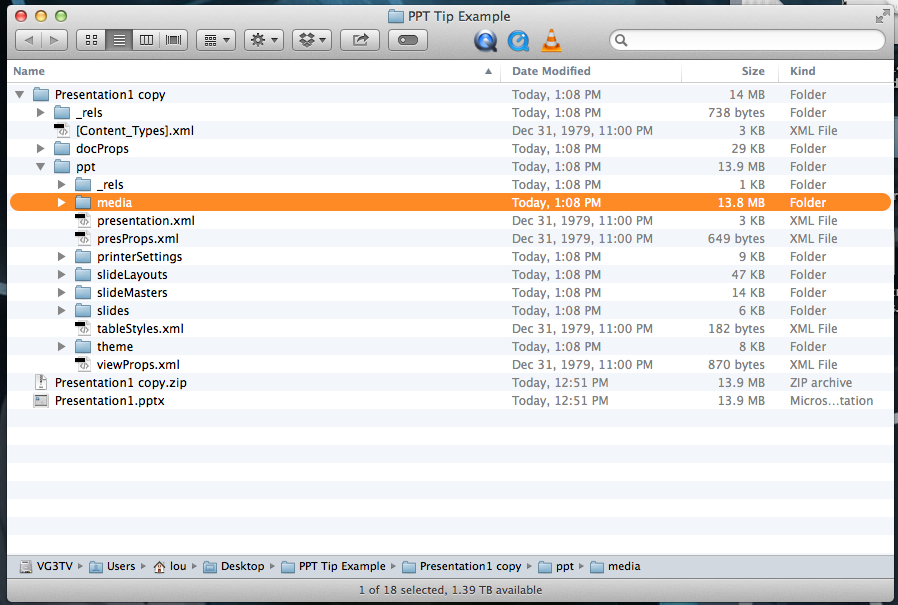
Open the new “Media” folder
The Media folder contains all the source images that were inserted in the Power Point presentation in their original file format.
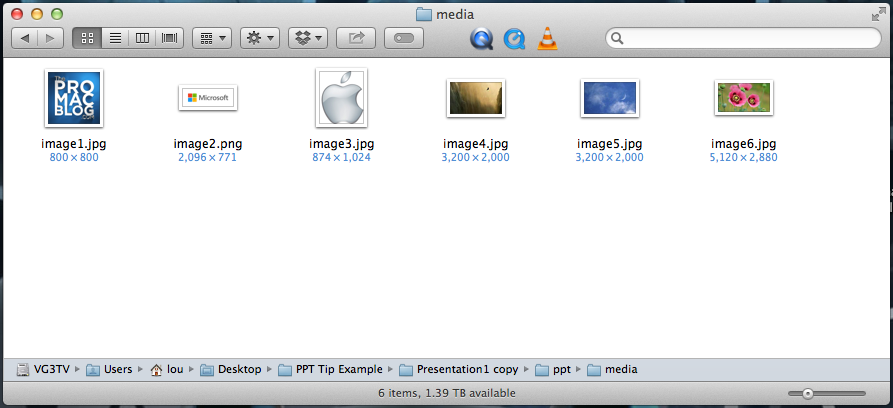
All of the images in their original file format!
That’s it!!!
This will only work on PPTX files. Not sure if this works on Windows.
I have to give a big shout out to Nate Nowlin for showing me this. I’ve saved numerous hours with this tip.
Don’t forget to share this one with your friends!
~Lou Borella
Related Posts


Motion Graphics and Shred Guitar … Life is Good! Next Post:
The Mini’s is now feeling the neglect